Article: Guide to Moka Pot
Guide to Moka Pot
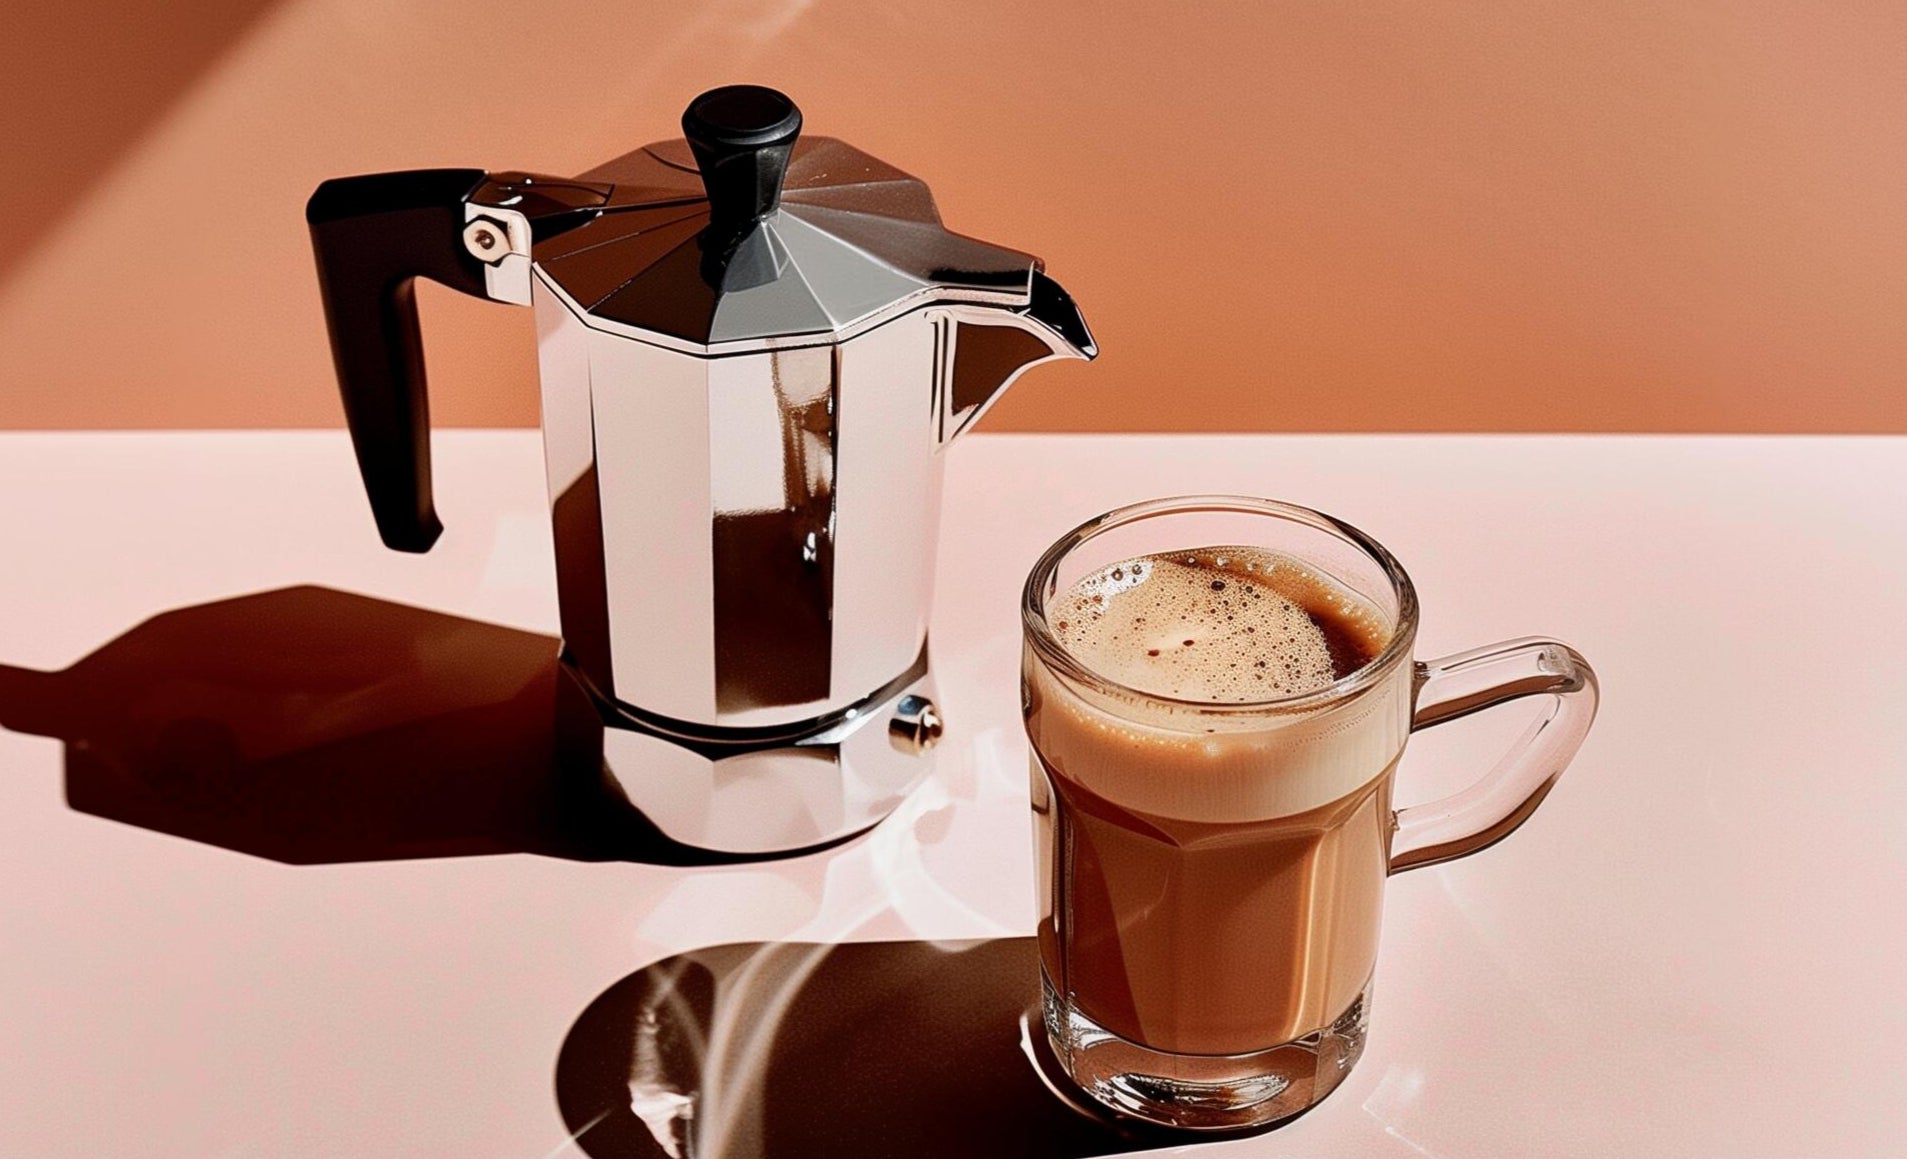
How to Brew the Perfect Cup with a Moka Pot: A Professional Guide
The Moka pot is a timeless brewing tool that bridges the gap between espresso and drip coffee. Invented by Alfonso Bialetti in 1933, its signature octagonal design and stovetop simplicity have made it a staple in kitchens around the world. For those seeking a bold, concentrated cup without the need for an expensive machine, mastering the Moka pot is essential.
In this guide, we’ll walk through the process of using a Moka pot correctly—ensuring a smooth, flavorful result every time.
What You’ll Need:
-
A clean Moka pot (any size)
-
Freshly roasted coffee beans (medium to fine grind)
-
Filtered water
-
Burr grinder (if grinding fresh)
-
A heat source (gas or electric stove)
Step 1: Grind Your Coffee Properly
Consistency is key. For the Moka pot, aim for a grind size slightly finer than drip coffee but coarser than espresso. It should feel like table salt—fine enough to allow for pressure extraction, but not so fine that it clogs the filter and leads to over-extraction or bitterness.
Tip: Always grind your beans just before brewing for maximum flavor.
Step 2: Fill the Water Chamber
Unscrew the Moka pot and fill the bottom chamber with hot (not boiling) water up to the safety valve. Starting with preheated water shortens brewing time and reduces the risk of burnt flavors from prolonged exposure to heat.
Important: Never fill past the valve.
Step 3: Add Ground Coffee
Place the funnel filter in the bottom chamber. Fill it with your ground coffee, leveling it off without pressing or tamping it down. A light shake is enough to settle the grounds evenly.
Overpacking the filter can create too much pressure, risking damage or bitter coffee.
Step 4: Assemble and Heat
Carefully screw the top and bottom parts together. Ensure a tight seal without over-tightening. Place the Moka pot on medium heat—centered over the burner.
Leave the lid open initially to monitor the brew.
Step 5: Watch the Brew
As the water heats, pressure will force it up through the coffee and into the top chamber. You’ll hear a soft bubbling sound as the coffee starts to emerge. Once the stream lightens in color and sputtering begins, immediately remove the Moka pot from heat and close the lid.
This prevents the coffee from becoming overheated or bitter due to over-extraction.
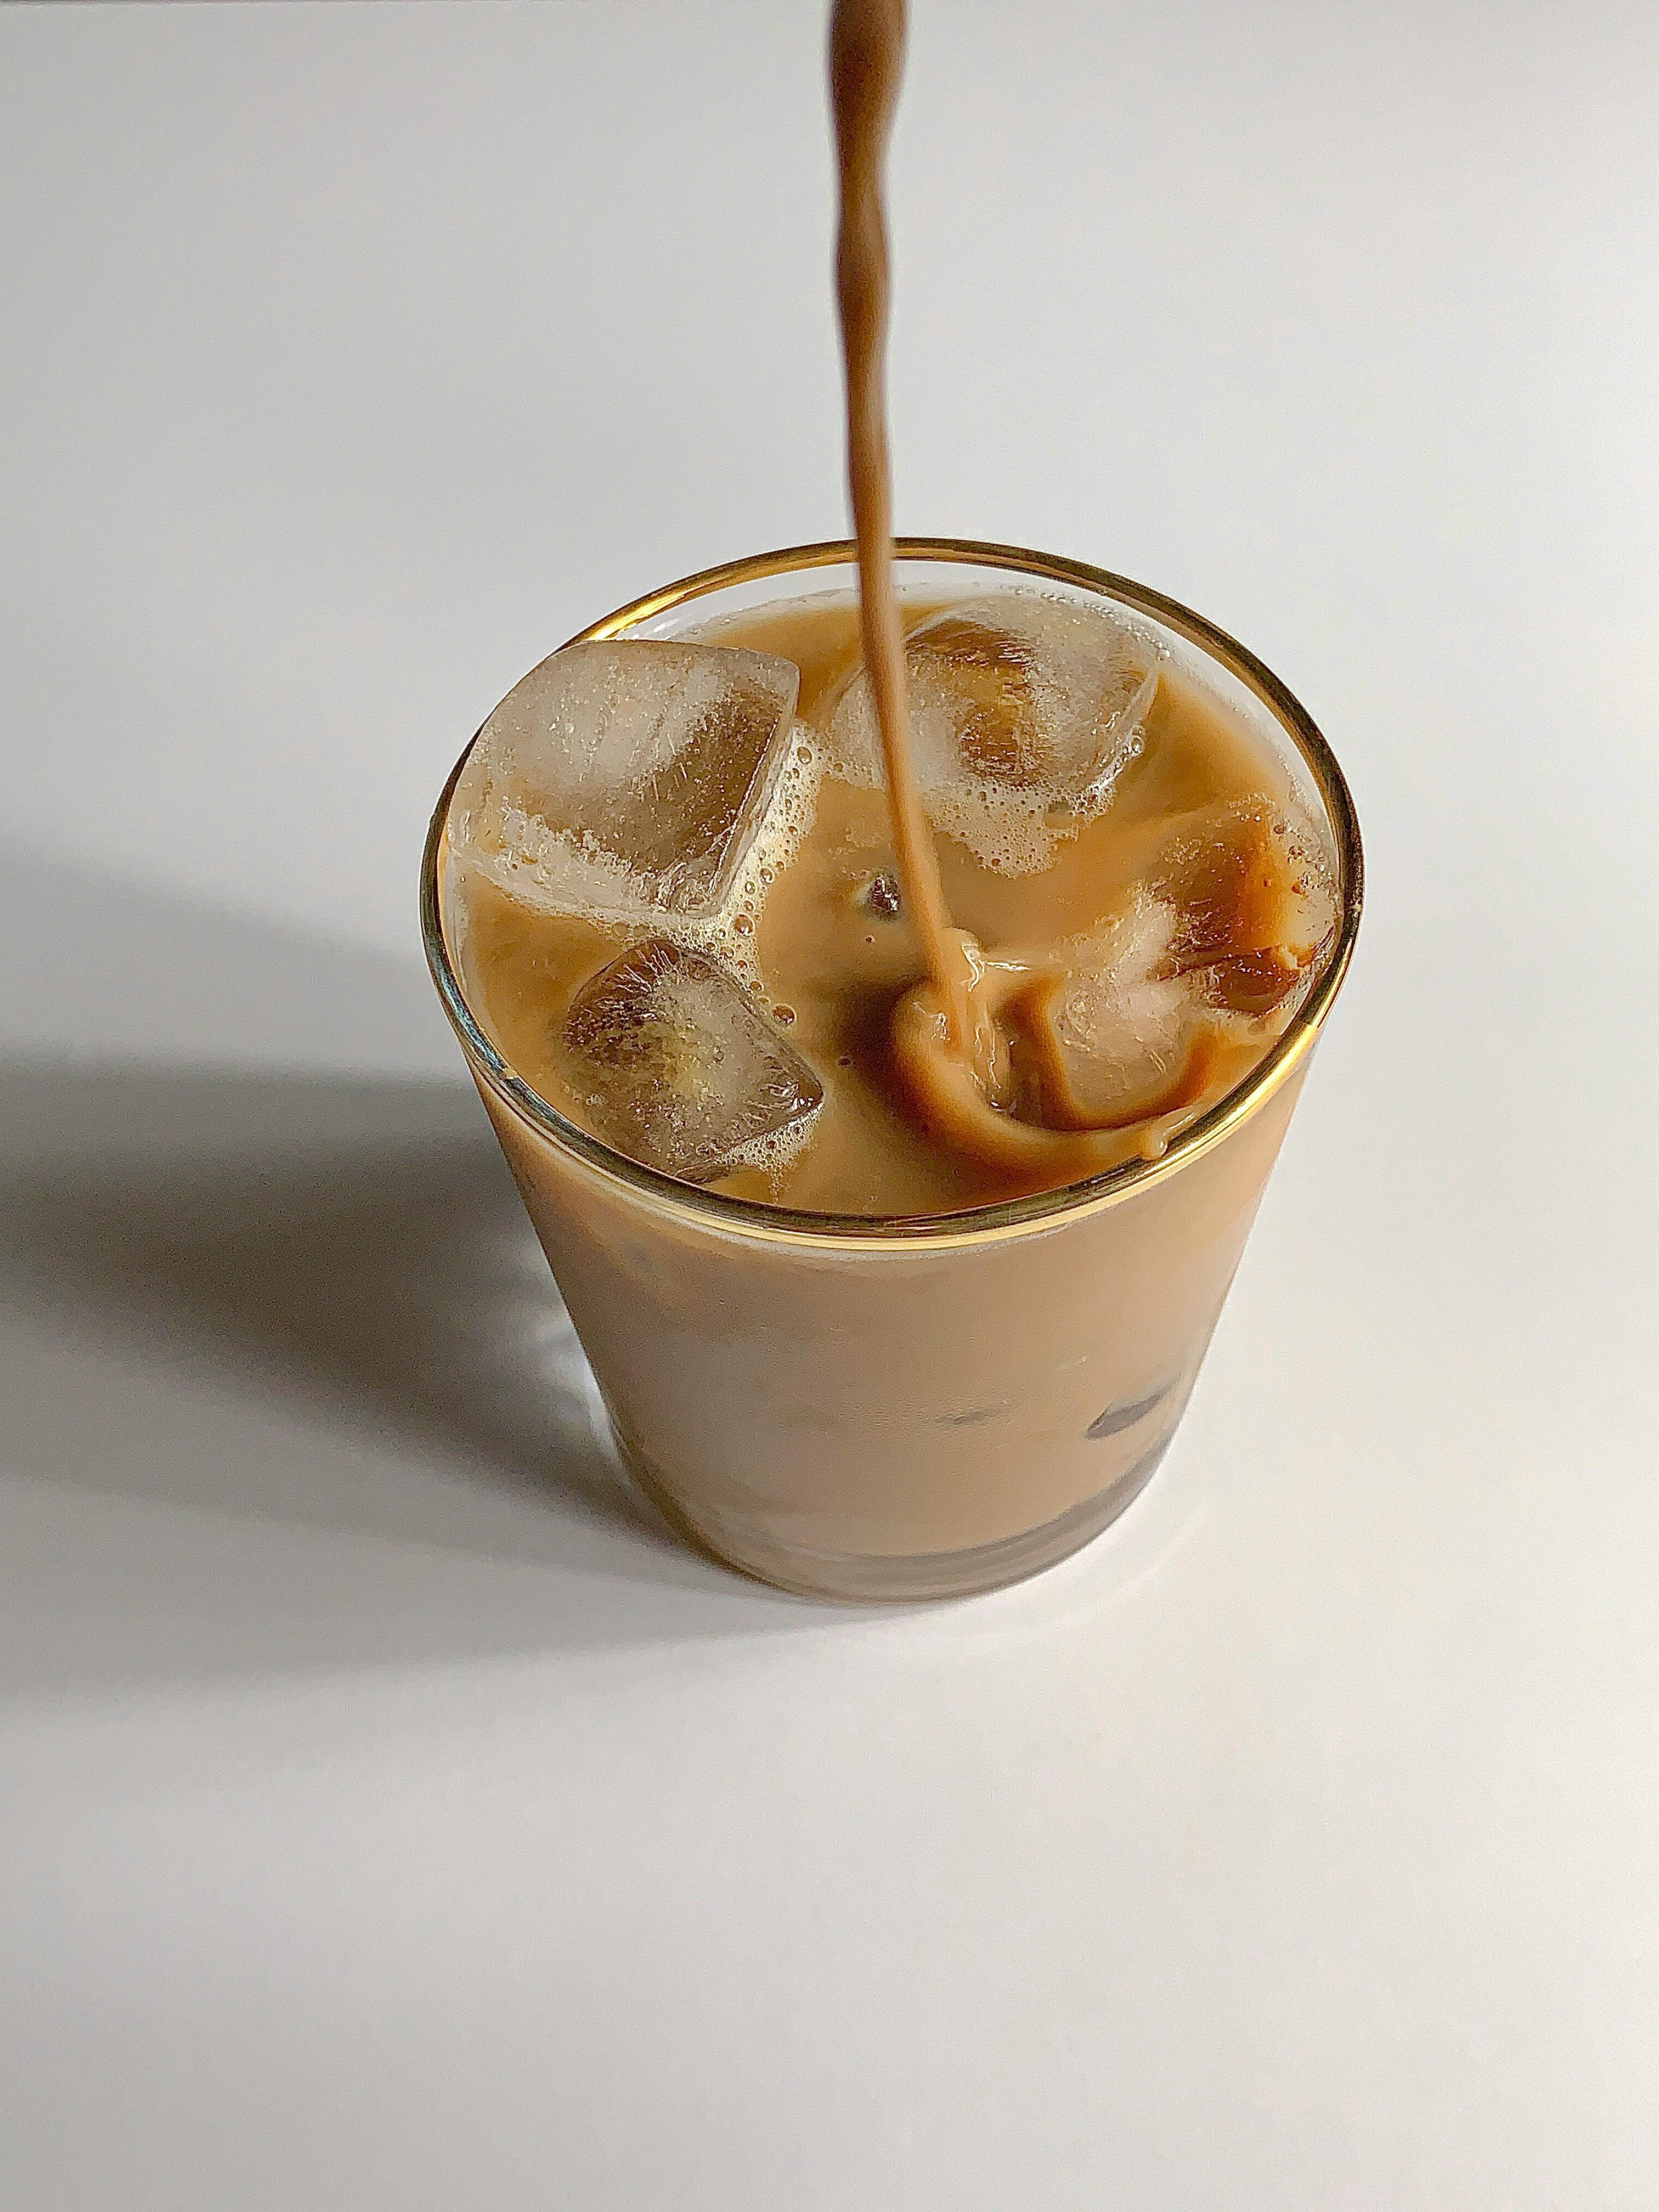
Step 6: Serve and Enjoy
Let the pot sit for 30 seconds to settle. Pour and enjoy immediately for the best taste. Moka pot coffee is rich and full-bodied—perfect on its own or as a base for milk drinks like lattes or cortados.
Cleaning Tips
-
Rinse all parts with warm water after each use.
-
Avoid soap—it can alter the flavor over time.
-
Dry thoroughly to prevent corrosion or mold.
A well-maintained Moka pot can last decades.